So back in September I attended the WI Centenary Fair in Harrogate a very enjoyable day.
At this fair I purchased a copy of
Edward's Menagerie, by a company called Toft. This company sells wool from its own alpaca herd and patterns to make with it including this lovely collection of animals they are all based on a basic body and leg shape so they have a family look about them which is adorable. Because I purchased my copy direct from them at the fair I got emailed 10 bonus patterns as well, which is brill as it was the dear and moose which caught my eye the most on the stand and their patterns are in the bonus pack.


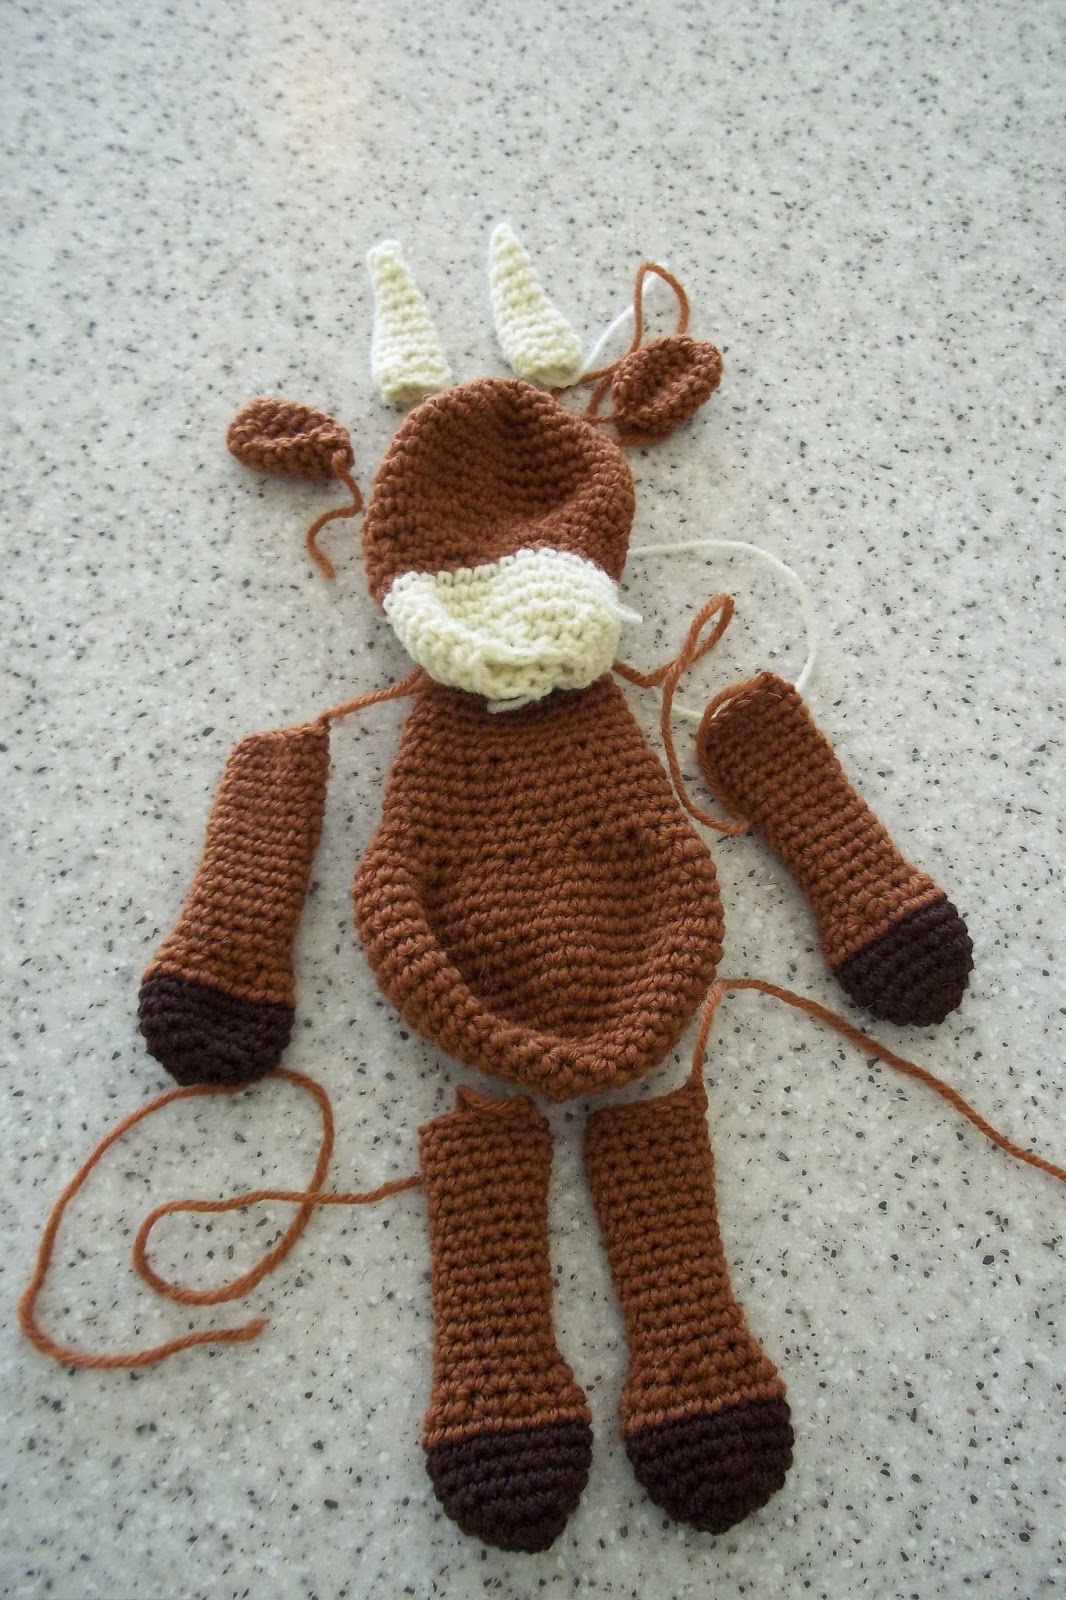
The book is very clear in its instructions and there are also helpful youtube videos to help when you get stuck. I started my first project right away. The book is split in to three levels of difficulty but I feel reasonably confident with my crochet so my first project was from the second level of difficulty Douglas the Highland cow. Something I did realize from reading the instructions was that because of my left handedness I technically make everything inside out (this does explain my struggle with dragon bellies the other Christmas.) so when I finish each element I have to turn it the right way around. Above are two legs the one on the left has been turned the one on the right hasn't, the left one has much neater lines. And here is all the Douglas elements. There is also detailed instructions in the making up of the animals as its also the way they are stuffed which give them their charm.

And this is the finished Douglas I'm really pleased with him and in the grand scheme of things didn't take me that long to make.
Another lovely thing about these patterns is that the book explains how you can vary the size of your hook and yarn thickness to create different sized animals. Douglas is classed as standard and worked in DK on a 3mm hook the next animal I tried out was Donna the reindeer she is worked in 4 ply with a 1.75mm hook. You can also do larger ones worked in Aran and chunky I will be trying this at some point.
I was really wanting to try out the deer pattern but the only 4 ply yarn I could find in the house was grey but I think she is still lovely. My other half said that since I was making it around Halloween time and she was grey it was a zombie reindeer. The antlers were a tad tricky, (thank you youtude vid) probably not helped by the smaller size and I wasn't able to turn them inside out but I'm still really pleased with how they came out.
Here you can see there is a difference in size.
My next project out of the book was not for myself. We heard news that a friend was having a baby so I set to making an animal for them. This time I choose Emma the bunny. I love the soft neutral tone she is in with her big floppy ears. Like the other two her facial features are sewn on in wool which I feel adds to her soft character.
And she has the cutest pom of a tail. Which I think I managed to sew on fairly centrally, (unlike a certain reindeer who didn't have her bottom photoed.)
So after the new bundle of joy arrived Emma got packed up to go join her new family. Here's Douglas and Donna waving her off.
While I'm on about Emma I'll just slip in a picture here of the card which went with her, I was rather pleased with it. Another one in my new card size which I'm really enjoying working with. The large flower motif from Stampin up Awesomely Artistic is stamped in pink and a complimenting die cut banner with white embossed sweet baby is put on the rest of the space is decorated with the cute bee from the Collage curios set in yellow.
So that's what I've managed so far out of my Edward's Menagerie book I do have another project on the go from it but you will have to wait awhile to see which one for now they are tucked up in my project bag.


 The book is very clear in its instructions and there are also helpful youtube videos to help when you get stuck. I started my first project right away. The book is split in to three levels of difficulty but I feel reasonably confident with my crochet so my first project was from the second level of difficulty Douglas the Highland cow. Something I did realize from reading the instructions was that because of my left handedness I technically make everything inside out (this does explain my struggle with dragon bellies the other Christmas.) so when I finish each element I have to turn it the right way around. Above are two legs the one on the left has been turned the one on the right hasn't, the left one has much neater lines. And here is all the Douglas elements. There is also detailed instructions in the making up of the animals as its also the way they are stuffed which give them their charm.


