So what happens when a crafter gets married, well they make everything!


The printed cards were then attached to a green card which had been punched to give it a tag look, a piece of bakers twine was put on to emphasis the tag look and ment that friends and family had the option of hanging their save the date so they wouldn't forget. the back of the tag had an added stamp which said To Have & To Hold I pick up this stamp a while ago because I thought it would be nice for wedding stuff, it will make several appearances. This was stamped and them heat embossed with white.


This is the first look at main stamp set which I chose to use for the wedding stationery. Jar of Love by stampin up. Considering what I was planning with regards table centers (see Snapdragons florist blog for flowers) I thought the jars would fit in well with the over all cottage country look. These are stamped in grey and mint with cute die cut flowers.


The back panel is also punched.
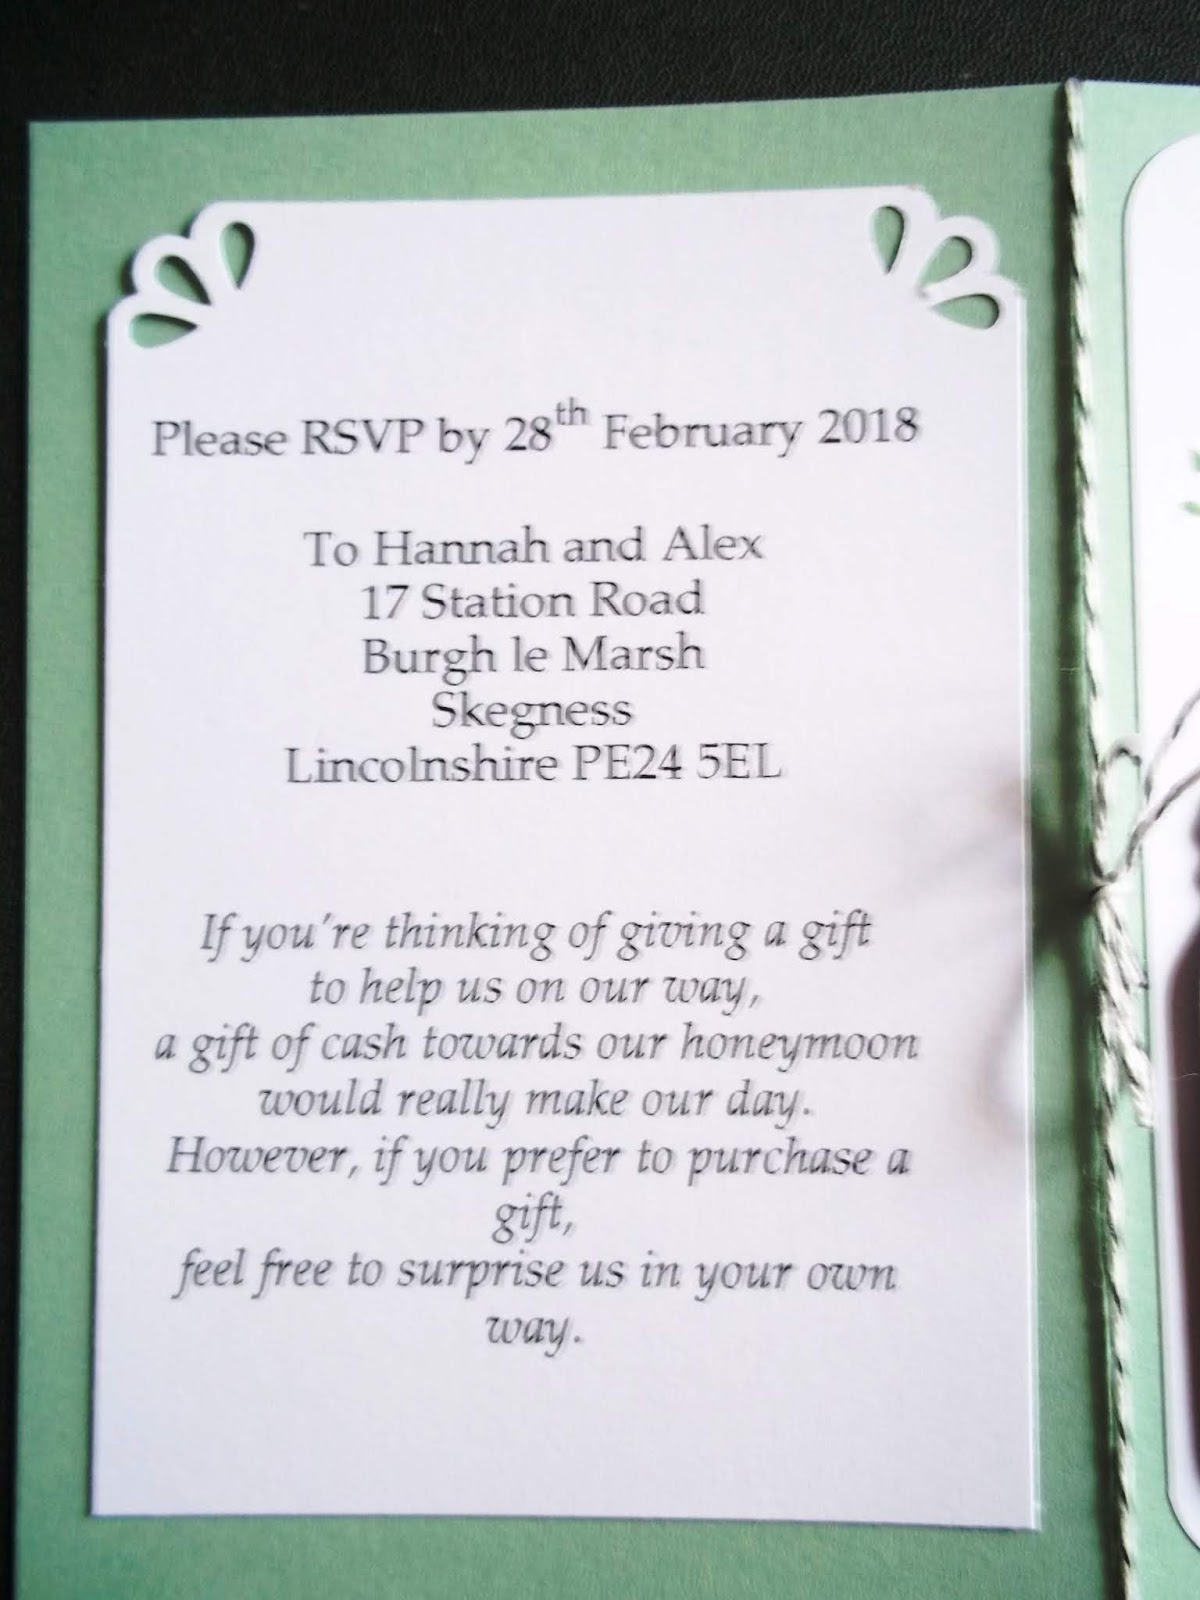
I think hand making wedding invitations is abit of a balancing act between them being fancy enough for what they are but not so intricate that creating alot of them will take for ever or end up with you hating them. Working on them in stages is also a really good way of doing it. like cutting all the card to size then doing all the bunting stamping, making a pile of die cut jars ect. I think to have done each one individually from beginning to end would have taken longer. Also when making invitations don't just think about the time it will take to create the actual cards, factor in time for all the wording and printing and extras like rsvp slips information sheets and writing envelopes.
 Other handmade stationery items include the table plan which used the same fonts as other items and the green backing cards were punched at the top to carry on the theme. The layout for the table plan was done to correspond with the layout of the actual tables in the room to make it as easy as possible for our guests to find their seats.
 I wanted something slightly usual for the place settings and since we weren't having chair covers I utilized the shape of the chairs and made tags with peoples names on, this had the added bonus of taking an item off the tables which I thought already had enough on with the books, bottles of flowers, glasses and afternoon tea. The tags were done in the same style as the original save the date tags. The female ones were stamped with bunting and a grey bee to the left bottom corner, (this tied in with another part of the reception decor.)


And the male ones were stamped with foliage and a grey bee to the right bottom corner. The back of the tags were stamped with the have and hold stamp just to stop them being plain and the tags were tied on with black and white bakers twine.

If I can blow my own trumpet for a moment I was really impressed with how I organised the place settings, I'd seen on pintrest the best way to do tables was with post it notes and paper plates, which I did. When the tags were complete using the paper plates I put them in order of how they went round a table and then put them in sets in coin bags, this meant that each table was really easy to tag up using the plate as a guide and just working through the set of tags for each one. I think its little things like that that help setting up run smoothly rather than just having a box full of all the place tags and having to search through for each name and wondering who sits next to whom.

Some cute little cards similar to the ones they had asking them to be part of our wedding, this time thanking them. These cards had the addition of the grey stamped bees.

And little jar tags with names on to put on the gifts. We got them earrings made out of recycled silver and stamped with bees from The Little Red Hen who I found of Folksy. It was nice to support fellow Folksy member and the recycled element and the bees fitted it perfectly with other elements of the wedding. Also meant I could write "Thanks for Beeing our bridesmaid" and I do love a good pun.
Check back soon for more elements of our handmade wedding, we haven't finished yet.