Thursday, 2 June 2016

Edward's menagerie family growing in size and number.

I'm continuing to work my way through the different animals in the Edward's Menagerie book. some I'm making for my own set and some are being made to send to family and friends having babies I like this idea of my menagerie family being like a real one with different members spread around the country. So here's the latest additions. 
This is Bridget the Elephant, who has gone to live with a cousin of my other half who has just had a little person. Bridget is done is soft DK wool in a gentle grey colour.
I love her ears and chunky tail. the pattern is quite straight forward with no colour changes, although she did cause me abit of an issue. I as I had been working on the separate body parts at work during quite times and had put them on a table awaiting stuffing, some how one of her legs fell in to a box of card making materials so when I came to assemble her she only had three legs and I couldn't find the forth, so I quickly did up another one convincing myself in the end that maybe I had only made three and the forth one was overlooked when changing to a new ball of wool.The missing leg as since been found and waits the possibility of becoming another elephant.


Here is Douglas and Donna waving her off on the way to her new home. They were wondering what new family member they might soon get at home.


And here they are this is Hank the Dorset down Sheep.
Isn't he massive? Hank is make using Aran wool which is the third size (there one more even bigger). His legs ears and nose are made using a dark brown and his body and fleece are done in a "tweed" cream which has flecks in it which I rather like as it creates a mottled look rather than then being bright clean cream. This pattern did take awhile to do as you have to make the body parts as normal assemble them then add the fleece which is done in chain loops and when spaced right means to do about three rounds of loops for every row of stitches on the body or head. I had to do the body twice as the first time I made the loops to tight this had pulled his body abit out of shape and the next time I do a sheep I will stuff the body more firmly to allow for softening as it is pulled and pushed about.


Here you can really see the difference between the different wool thickness. I think the aran was a good choice for this pattern as I cant imagine how fiddly it would have been to create it in 4ply.
I like how the same pattern can easily be adjusted in size with wool thickness and hook size. I do in the whole think most of my collection will be the DK size though as this creates a lovely cute animal.


When I brought the wool for Hank it was on a 3 for 2 offer so I also purchased this other "tweed" ball of Aran with a pinky tone I think this may become a hippo at some point in the future.


So there's my latest additions to the family. I'm sure there will be more before long.


Thursday, 26 May 2016

Woodhall Spa Country show.

So we kicking off the fair season this year with a stall in the craft marquee at Woodhall Spa country show. This was the second time we had done this show and this year was a big improvement on last year. The weather was a much brighter day which always helps to bring more people out to and there were more an event and there were more stalls making the tent look more inviting and worth looking in.
 I was pleased with the set up of the stall, using a combination of two tables one longways on to maximize display area and the other at right angles making the stall longer and giving me some counter space behind the display to store bags and such on.
The white crates created height and  interest to look at. In this picture you can also see the new fabric tissue packs which were launched as a new product at this fair.
Something else new to the stall was these cute floral suitcases, these are great for both transporting some of the items to the fair and then using them for display. I do also have some spare suitcases available for sale.


Our next fair will be at Gunby Hall and Gardens Rose Day on Sunday the 26th of June.

Friday, 20 May 2016

New item launching this weekend

So as we head towards our first fair of the year Hannah's Craft cottage have a new product to launch.
Here they are, pocket tissue holders. These cute and handy holders are made from fabric and are completely lined with the lining fabric showing as a contrasting/complimenting strip on the opening. Each tissue holder come full of tissues ready to pop in your handbag and are easy to refill so you can use it again and again, so much better than a plastic wrapped packet of tissues.


Here you see we have lots of different designs they will be launched on our stall in the craft marquee at the Woodhall Spa Country Show this Sunday 22nd May. With a special offer of £3.99 each or 2 for £7. So why not get one for yourself and one for a friend.


 Also as part of the stock for the show there are a dozen new felt Russian Doll ornaments. All hand stitched in lots of lovely colours embellished with ric rac and buttons. Just £4.99 each.

Thursday, 21 April 2016

Spring is sprung the grass is ris...

... I wonder where the birdies is?

 Well a flock of ten new quirky birds have just flown in. In a range of fun colours. At £3.99 each have you got yours yet or if you have could he use a buddy?


Displayed on a wooden tree in Snapdragons Florist. These cheerful birdies are ready to grace new homes and spread their quirk. Some of them have even made their way on to the Folksy Shop.

Thursday, 18 February 2016

Toft Crochet projects.

So back in September I attended the WI Centenary Fair in Harrogate a very enjoyable day.
At this fair I purchased a copy of Edward's Menagerie, by a company called Toft. This company sells wool from its own alpaca herd and patterns to make with it including this lovely collection of animals they are all based on a basic body and leg shape so they have a family look about them which is adorable. Because I purchased my copy direct from them at the fair I got emailed 10 bonus patterns as well, which is brill as it was the dear and moose which caught my eye the most on the stand and their patterns are in the bonus pack.

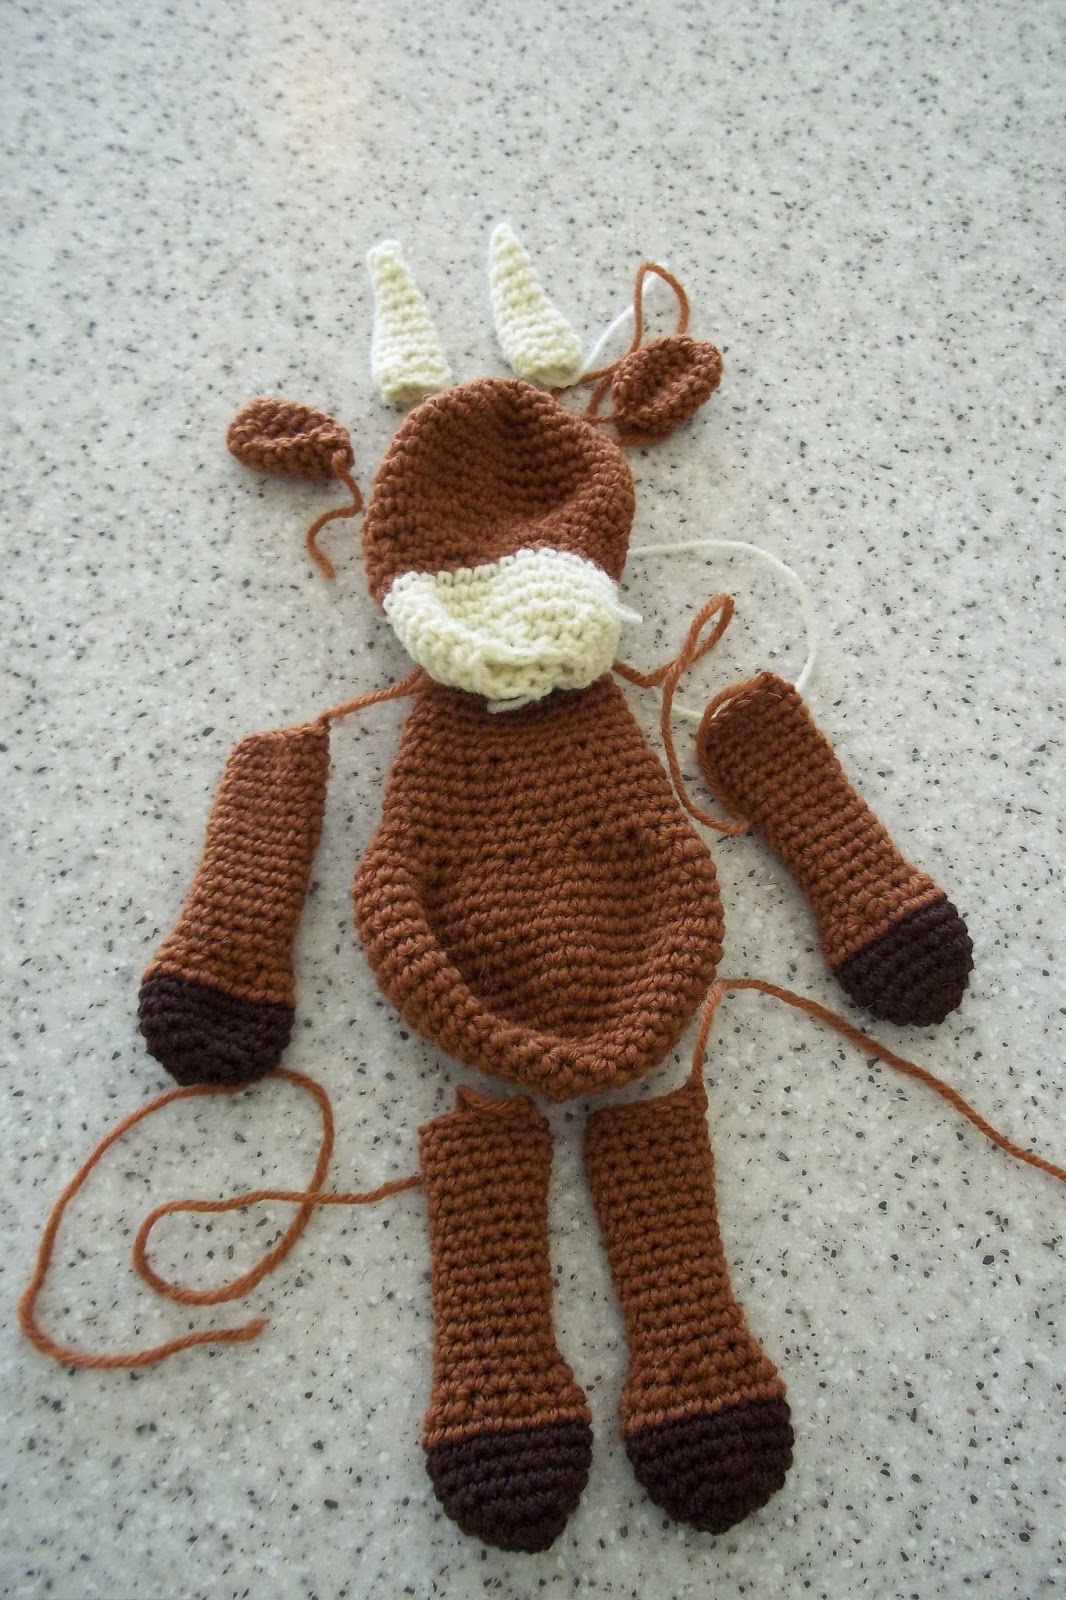
The book is very clear in its instructions and there are also helpful youtube videos to help when you get stuck. I started my first project right away. The book is split in to three levels of difficulty but I feel reasonably confident with my crochet so my first project was from the second level of difficulty Douglas the Highland cow. Something I did realize from reading the instructions was that because of my left handedness I technically make everything inside out (this does explain my struggle with dragon bellies the other Christmas.) so when I finish each element I have to turn it the right way          around. Above are two legs the one on the left has been turned the one on the right hasn't, the left one has much neater lines. And here is all the Douglas elements. There is also detailed instructions in the making up of the animals as its also the way they are stuffed which give them their charm.


And this is the finished Douglas I'm really pleased with him and in the grand scheme of things didn't take me that long to make.
Another lovely thing about these patterns is that the book explains how you can vary the size of your hook and yarn thickness to create different sized animals. Douglas is classed as standard and worked in DK on a 3mm hook the next animal I tried out was Donna the reindeer she is worked in 4 ply with a 1.75mm hook. You can also do larger ones worked in Aran and chunky I will be trying this at some point.
I was really wanting to try out the deer pattern but the only 4 ply yarn I could find in the house was grey but I think she is still lovely. My other half said that since I was making it around Halloween time and she was grey it was a zombie reindeer. The antlers were a tad tricky, (thank you youtude vid) probably not helped by the smaller size and I wasn't able to turn them inside out but I'm still really pleased with how they came out.

Here you can see there is a difference in size.


My next project out of the book was not for myself. We heard news that a friend was having a baby so I set to making an animal for them. This time I choose Emma the bunny. I love the soft neutral tone she is in with her big floppy ears. Like the other two her facial features are sewn on in wool which I feel adds to her soft character.


And she has the cutest pom of a tail. Which I think I managed to sew on fairly centrally, (unlike a certain reindeer who didn't have her bottom photoed.)
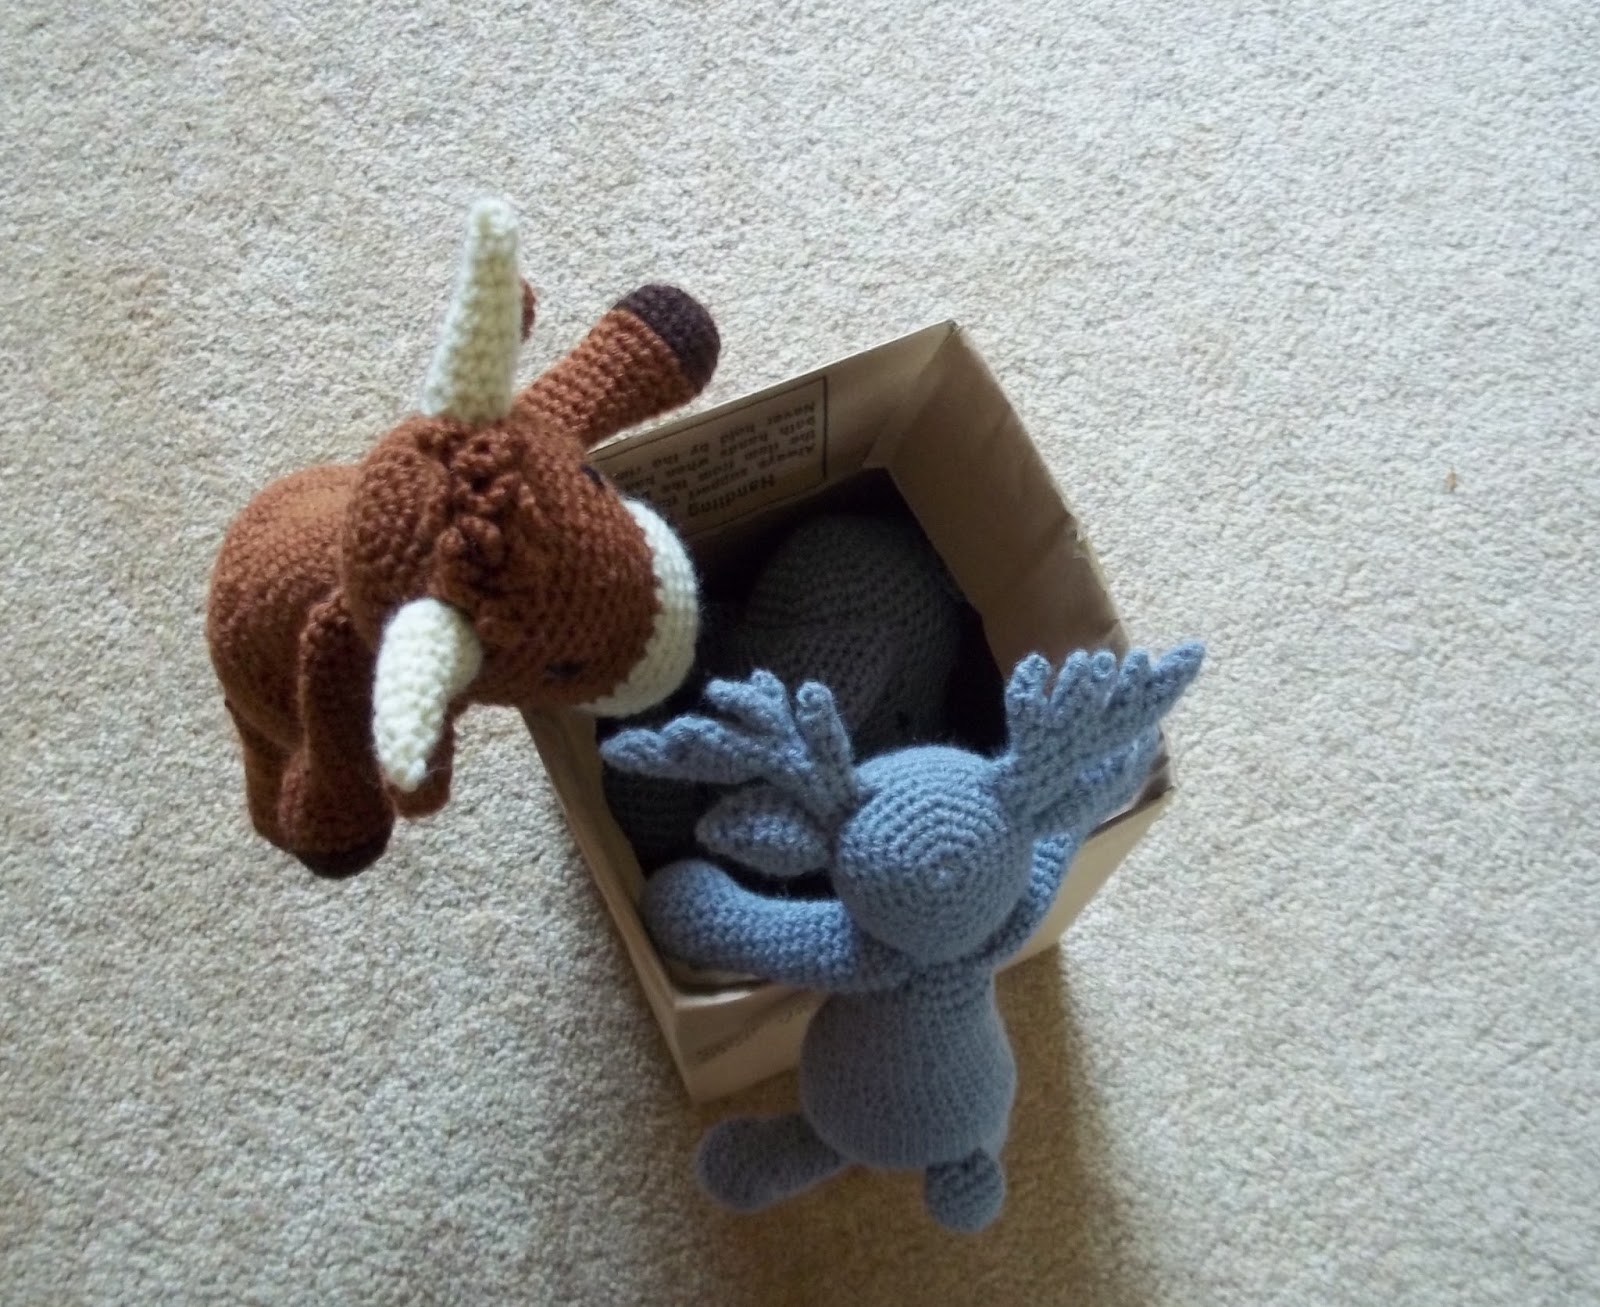
So after the new bundle of joy arrived Emma got packed up to go join her new family. Here's Douglas and Donna waving her off.


While I'm on about Emma I'll just slip in a picture here of the card which went with her, I was rather pleased with it. Another one in my new card size which I'm really enjoying working with. The large flower motif from Stampin up Awesomely Artistic is stamped in pink and a complimenting die cut banner with white embossed sweet baby is put on the rest of the space is decorated with the cute bee from the Collage curios set in yellow.


So that's what I've managed so far out of my Edward's Menagerie book I do have another project on the go from it but you will have to wait awhile to see which one for now they are tucked up in my project bag.



Wednesday, 3 February 2016

Cards I've been making recently.

I've found some time to make a few cards to stock up again at the shop. Here they are.
This first set of four is a design I have made before and proves popular. Using a past Stampin up hostess set four seasons I layer up plain coloured card and patterned card I have created using the small motifs from the set and three colours. This is then topped off with the complimenting bird in pattern and a sentiment. I love selecting the different colour mixes.


  These next four are all Birthday cards as these are a big seller. Using the apothecary art stamp set and complimenting framlits these lovey shapes are made and layered on to a background of patterned paper. the sentiments are cut in to banner shapes using the banner punch on the end.


These next three are thank you cards another popular sentiment. Here I have stamped the wreath from the circle of spring stamp set and used the complimenting framelit to cut out the middle section, I've rounded the corners of this piece of white card and added a couple of flower stamps. I've placed this on to a plain coloured card background which has has the sentiment stamped on to it to be seen though the aperture. A bow in matching coloured card is added to finish the design.

  Here is just one card made using the lotus blossom stamp set. This is a clever layering stamp set which gives a depth and interest to the image. I do intend to make more cards using this set as it is very lovely and will work with lots of different sentiments this one says "to a great friend" which could be used for lots of different occasions.


The last set for now using a set purchased last year called no bones about it. This set includes several dinosaur shapes in solid and skeleton forms, is also includes some dinosaur sentiments and nice extras like footprints and stamps that can be used to add texture to designs.  Here I made three different designs one with a dinosaur in two layers wearing a party hat with a collection of banners at the top made out of patterned paper, stamped card to create a pattern and a sentiment.
Two of the cards have patterned backgrounds on to which a sentiment off set of white card and backed on to coloured is placed across it. A second piece of coloured card is overlapped on to the sentiment piece and placed on it are three white squares which have been stamped with the dinosaur heads.  The final ones in this set are on a new size of card for me a 4 by 4 inch square, I think I will like this size its not as small as my note card square and not as big as a normal card, it just fits these little monsters well thou for something to brighten someones day.

So there's a few cards I've been making recently check back soon to see some valentine's ones.

Thursday, 21 January 2016

Pre Christmas Craft fairs.

I'm finally getting around to catching up on some blogging and I'm determined to do more this year.
Did a couple of stalls before Christmas the first was with the local WI group at the end of November. As I had commitments with clients in the shop I sent Mum to man the stall for the first half of the fair I didn't get chance to take a picture of the stall but a good one appeared here  on the village website. (scroll down past the church fair and my stall is the one with the little red stockings and green gingham cloth.) At this fair lavender bags and tatted bookmarks sold well as nice little gifts.
The other fair I did was the annual event at the windmill, this is always a nice event with really community spirit, unfortunately the weather was rather rainy and windy so turnout was abit low.
However Alex came to help me set up and took some lovely shots of the stall.
 General shot of the stall, this year I was in the second room with a couple of the regular stall holding ladies, we had a good laugh despite the weather.
 Lovely shot of the quirky birds, on their new wooded tree, they display really well on this.
 Shot including felt decorations and tatted bookmarks.
Last shot showing pincushions, friendship teas and lavender bags, which again were a good seller at this event.

I'm really great full to Alex for taking these pictures for me and making the stall and stock look so lovely he really has got a nack with a camera.  More of his pictures can be seen here.


Again this stall managed to make it on the village website I'm the girl in the antlers.
So that's the pre Christmas stalls for Hannah's craft cottage, looking forward to the fair we will be doing this year, more about that soon.