Tuesday, 21 October 2014

And a partridge in a pear tree.

I was getting together quite a collection of lovely colored felt so I thought it was time to make some use of it.
I found a lovely copyright free patteren for an embroidered partridge in an issue of Crafts Beautiful magazine an thought this would be an nice addition to my other felt decorations and would offer a choice between the smaller and more simplistic £3.50 ones and this larger and more intricate and luxurious one. 
I started with cutting several sets of each color and then mix and matching the pieces until I was happy with the color combinations. I tried to keep a structure to how I put the colors together, each partridge has a cream front body and the back is a color which matches the head piece the neck piece and tail piece also match in color and the beaks were done in either yellow or orange depending on if orange featured anywhere else on the design.
 The pieces were then stitched on to the cream body using a mixture of running and over stitching, I used two strands of embroidery cotton in complimentary shades. the edges were left un-stitched as these would get stitched when the front was joined to the back.


The embroidery was then added using back-stitch to create the patterns on it again using strands of embroidery thread in compliment colors, I tried to stick to a set number of colors and combinations to give the piece a themed look. The eye was worked in satin stitch and I think I prefer this than adding a button or bead.


I then added a ribbon which can be invisibly stitched to the neck if worked carefully to only catch on the cream felt and not the layer above.  I choose to use a folded ribbon creating two loose ends instead of a loop as I felt this gave more choice to the buyer as to  how and where the finished decoration could be displayed. It was then stitched to the back piece using cream thread and an over stitch and stuffed with a polyester stuffing which gives it a lovely plush shape.


I think they look really lovely and are perfect for someone looking for a different and unique decoration. And I hope the color choices appeal to people.


The partridges have now found a home in my shop displayed in the craft focus area resting on some Christmas trees and are available for £9.50 each.


Monday, 22 September 2014

More felt Christmas decorations

So I said in the previous post there was two sets of felt decorations here's the other.

 This set is called baubles because they are more traditional bauble shapes. For each shape I've made four decorations two with ric-rac and two with buttons the pairs mirror each other in colour.
So up first is the round shape the ric-rac pair have been made using deep purple pink and turquoise blue with navy ric rac.

 For the button pair of the round set I've used lilac and the deep purple pink for the decoration I've added three tiny buttons and a felt holly leaf. On the button decorations I've put the second colour on by making the same shape in a smaller size.


The next shape is a pointy oval I think this is my favorite shape of the three its got a vintage look about it. For the ric-rac pair I've worked in traditional green and red with cream ric-rac.


For the button set I've worked in yellow and turquoise blue with buttons on. I like the yellow button with the tinsel bits in on the other half of the pair. Like the other set they are hand-stitched and with out stuffing which makes them perfect for posting as a little gift for someone.


The last shape is circle with bobbles on the bottom. for the ric-rac set I've worked in yellow and lilac with red ric-rac. On these style ones the second colour has been added in the form of a band which is rounded to give them a feeling of shape.


And the last button ones are worked in red and light blue this is a colour scheme I do see coming in to trend its a progression from the red and white rustic scandi style that has been popular for the last few years. These are decorating with a large pattered wooden button.


So that's the second set so far of felt decorations gong to be available soon at £3-50 each.

Christmas crafting in August

I know I know seems mad but if your gona sell craft you have to be ahead on the seasons so I started making my felt Christmas decorations while I was out of the shop due to the flood.
I see the ones I've made so far in two sets so will be doing two blog posts about them.
The first one is called Shapes, these are decorations shaped like traditional Christmas things this set began life last year as some gingerbread houses I made while on a trip to my in-laws, they sold well so I've made some more.

These are the ones from last year.
So new shapes for this year start with Christmas puddings these have been done in two different shades of brown and decorated with contrasting embroidered stars, white felt icing and green bow with button. I've done some with the gingham ribbon and some with a dotty ribbon.

The other shade of pudding


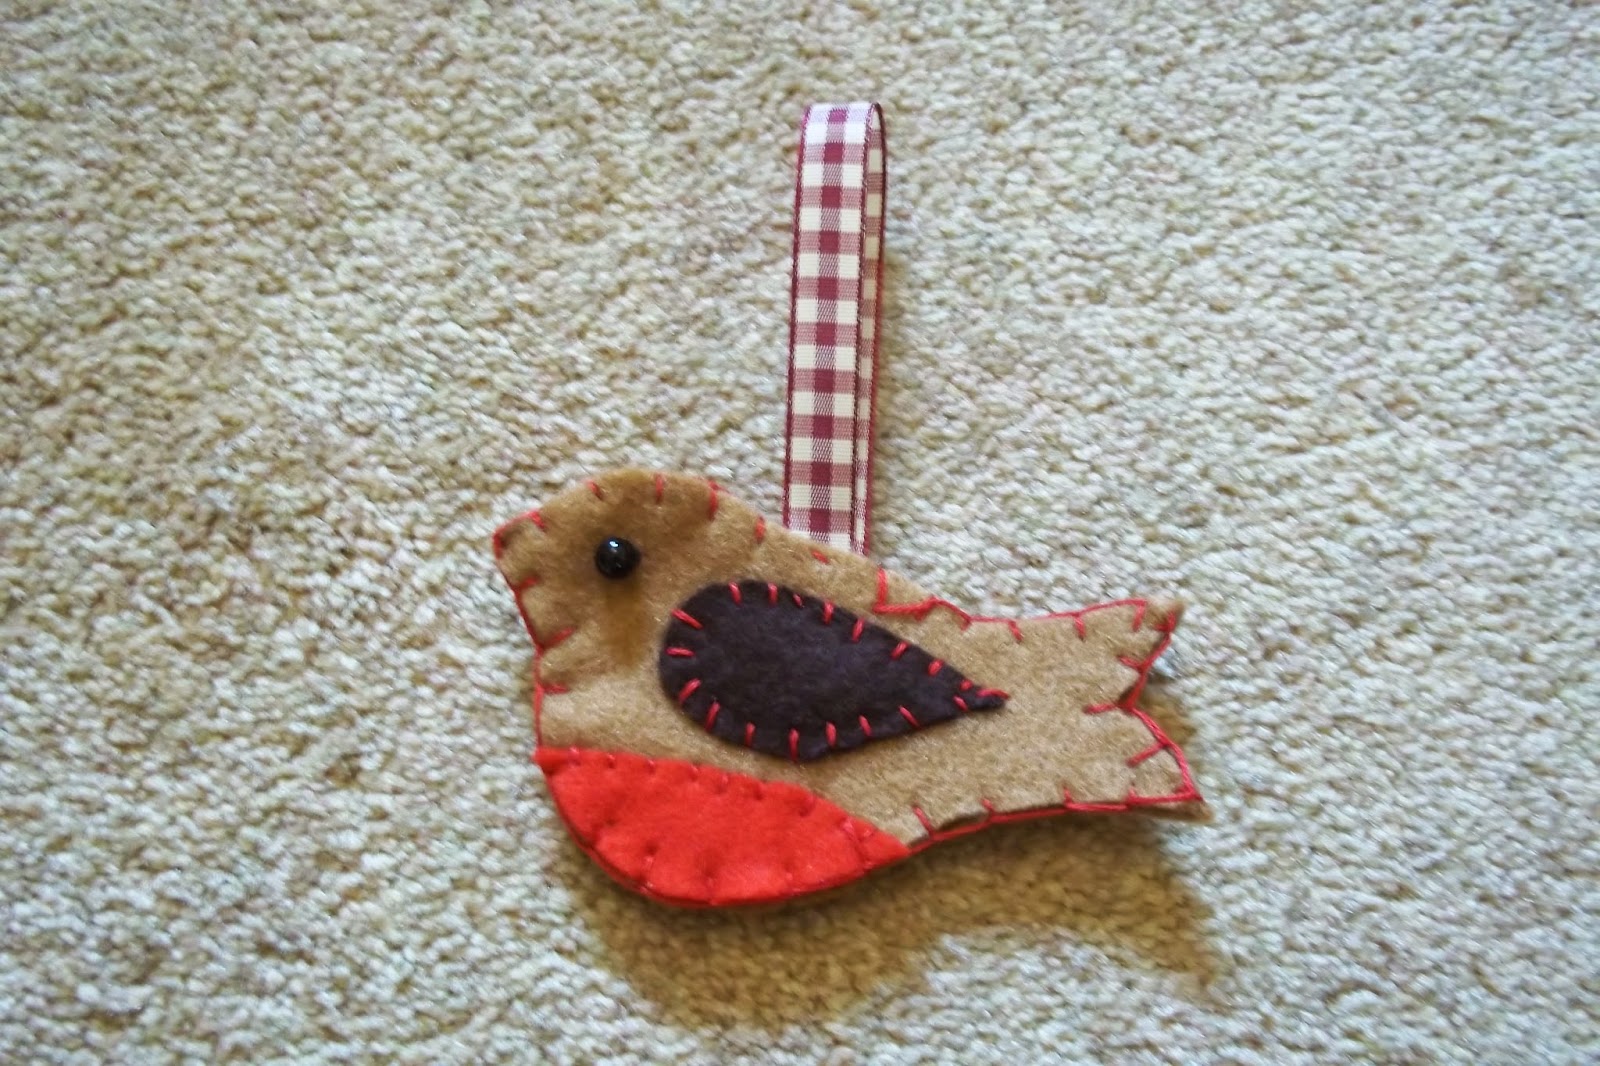
 Then we have some cute little robins these are stitched in festive red and finished off with contrasting wing, red belly and black bead eye.


 Some look left and some look right. All my felt decorations are hand-stitched.


 And last in the shapes set, for the moment is this terrific two tone holly leaf which is finished off with vein stitching and mini red pom poms.


So there you go my first set of felt Christmas decorations for this year.


Tuesday, 9 September 2014

Christmas Craftstyle samples.

I've been a design team member for Craftstyle products for a while now and recently they sent me a selection of their Christmas products to make some samples and here they are.
Lets start with a simple easel card, this style has been in fashion for a while and I have to wonder how long it will stay popular. The card base I used had an embossed front with a snowflake pattern so I used some more embossed card to match it. A strip of tartan patterned backing card (I say card because it is a good thickness) is placed on the topper with matching piece on the base. The main topper which has a foil edge is placed on top of this and a set of banner strips are layered up on one side to create a backing for the sentiment. A stopper is also created with foam pads on the base section.


Next is a large gate-fold card the toppers used on this card have a religious theme depicting the first Christmas. I really like these toppers as its nice companies offer religious themed Christmas items as well as the traditional snow and Santa.  These are in neutral browns and creams which look abit like fabric with button details which when well with the cotton and button tie I made for the card.


The backing papers were from some paper pads craftstyle are doing the paper is thinner than they usually do but is still good and has a glossiness to it which gives a nice effect there are two pads one in the brown and cream colors and the other in reds and green. both compliment the range of toppers well.


Next is a side stepper card the base is created with holly embossed card, craftstyle do a great range of embossed card is so many different patterns. This is topped with another tartan patterned backing card which I was loving as when I was doing these I was close to going up to Scotland for a friends wedding. Post box toppers were added again with lovely foiling detail on the edge.


A side view showing the stepper element of the card which adds depth to the design.


This card showcases the patterned paper packs I mentioned earlier. A card base with foiled red dots on is used as a backing for this Christmas tree design which is created with overlapping strips of paper with a mixture of patterns on including snowflakes, stars and dots.


When creating my craftstyle samples I do try to push the boundaries beyond just standard shaped cards to do these products justice and show they are not just for card makers. Here is a lovely hanging Christmas decoration made with paper rosettes created with papers and backing card the top one is finished off with a button but the larger one is finished off with a star from the patterned paper which is punched out in a circle and at the bottom a round shaped card with green foil dots is topped with a cute west highland terrier topper and sentiment.


The last sample is a cute little pocket card which I found instructions for here. The main body of the pocket is created with a piece from the paper pad and a belly band of backing card with a decorative punched edge is added round and a sentiment attached to this.


The tag for the inside is created from the same backing card as the band and a topper is added to this I think the Santa with his finger to his lips really works for this style of card. a hole is punch through the top and a matching circle of the pocket paper and ribbon is added to finish this off.


I hope you like these samples and they show a range of styles and designs for Christmas hopefully these will be used when Craftstyle do a show on Create and craft to showcase these products.

Four seasons

The last set of cards I've made is done using the four seasons stamp set. On 5 x 7 inch cards in landscape I've layered up three lots of plain card and white which has been stamped in three colors. these cards took quite a lot of  card and time to do so this will be reflected in the price. I've made two for each season.

 So lets start with spring colors of pink, blue and turquoise and darker pink yellow and green are used here. The main topper is a colored circle and scalloped punched circle. the sentiment is stamped on to colored card and heat embossed in white as done in a previous set I like this look the ends are also finished off with the banner look, I do love it so.


Summer colors blue, peach and light green and purple pink and light green. again the main topper is shaped to be cut out with a scalloped circle. the sentiment and topper are put on foam pads to give it some depth.


Autumn I really like the colors I've used on this season pale peachy orange, warm brown and olive green for one and orange, purple and dark brown for the other the leaf shape stamp is such brill shape and really captures the season. The so grateful sentiment would be perfect for giving to an american friend or relative for thanksgiving.


 The winter ones have been done abit different with one color being heat embossed so we have two shades of blue and silver embossed and red, greed and gold embossed. I've also used the silver and gold to emboss the sentiment instead of the white.  The sentiments are Thoughts of you and Memories because sometimes you need a card at this season that doesn't say Merry Christmas or something similar.


So there we go all the cards sets made during my time out of the shop stay tuned for more Craftstyle products samples and felt Christmas decorations.


Feeling sentimental

Next set were made using the set feeling sentimental. the first three are larger size cards (5 x 7 inch) with a scrapbook feel overlapping layers of plain and patterned papers are added with accents. Most of the patterned papers have come out of stampin up dsp paper stacks these are brill little  4.5 x 6.5 inch books of patterned paper and are great for card making and easier to work with that 12 x12 inch sheets.

The first one features the ferris wheel stamp. bordered with blue card and placed on to some patterned paper and a plain colored card which has been run though an embossing folder to give it texture. the sentiment is placed on a couple of punched pieces a touch of ink has been added to the edges and raised up on foam pads.


The second on features the penny farthing stamp which is bordered with a light brown and placed on to two pieces of patterned paper and strip of red. the sentiment it stamped on to the card in one corner and two sparkles in an in-keeping color are added to the opposite corner.


The last of the larger size cards features the telephone box stamp. This is bordered in red. After adding a couple of sparkles to the last card this one goes abit further with a strip of glitter card in a warm rich gold is added down one side with strips of patterned paper tucked under and over lapped to make a backing for the sentiment. As you may be realizing I'm loving the banner look at the moment and have used it lots on cards I'm making. These ones were created by placing just the end of my paper in the shaped end of my banner blast punch.


Using this set I also made some cards in the A6 size. I've done two for each stamp starting with the phone box. I put a strip of patterned paper across the card and added stamps from the pretty petites set. these are really cute mini label shaped stamps with fun sentiments on. I thought one saying hello was cool since its a phone box and I like that it works well in non red too.


For the two ferris wheel ones it has the same layout as the phone box ones I like the colors on blue and red one and think the than-you banner on the green one really fits with the fairground look.


The penny farthing stamp comes out wider than the other two so I changed the strip of patterned paper to be a vertical one and stamps across the bottom. I found the newer style stampin up ink pads which I used for the brown card are juicer and the stamps need a slightly lighter touch to keep the defined detail to the stamp.


I like this set as they make nice cards which can be suitable for men which are sometimes abit more tricky to do and the colors used here are nice as we head in to the autumn and winter seasons.


Monday, 8 September 2014

Banner Blast

Next set is using the Banner Blast set and coordinating punch from this years Stampin up saleabration.
I've worked these cards in landscape. each one has a background of a colored card and then a white embossed card. the banners on foam pads are arranged in one corner with a banner sentiment in the opposite corner these were done using itty bitty banners and matching dies some are done with colored card and white heat embossing I like this effect and will use it again on another set.  Four of the cards are done using three colors which is lovely to do as stampin up inks compliment each other so well. The two baby ones are done in just two colors but have added sparkles.
Baby with star embossed card

Baby with flower embossed card 

Congratulations blue, orange and brown with zigzag embossed card 

Happy Birthday purple, blue and turquoise with dot embossed card  

For you green yellow and pink with diamond embossed card  

For you turquoise, pink and brown with dot embossed card 
I like this set and think I will be making more of this style in the future I wonder about making some Christmas ones like this as well.