Monday, 8 September 2014

Banner Blast

Next set is using the Banner Blast set and coordinating punch from this years Stampin up saleabration.
I've worked these cards in landscape. each one has a background of a colored card and then a white embossed card. the banners on foam pads are arranged in one corner with a banner sentiment in the opposite corner these were done using itty bitty banners and matching dies some are done with colored card and white heat embossing I like this effect and will use it again on another set.  Four of the cards are done using three colors which is lovely to do as stampin up inks compliment each other so well. The two baby ones are done in just two colors but have added sparkles.
Baby with star embossed card

Baby with flower embossed card 

Congratulations blue, orange and brown with zigzag embossed card 

Happy Birthday purple, blue and turquoise with dot embossed card  

For you green yellow and pink with diamond embossed card  

For you turquoise, pink and brown with dot embossed card 
I like this set and think I will be making more of this style in the future I wonder about making some Christmas ones like this as well.

Mini monochromatic cards

I've made a couple of this style cards in the past and thought they looked good I put a background of the chosen color on the card them stamp on it in a corresponding shade and add some cream accents often on foam pads to give it some depth. Many products used are from Stampin up

First a couple of purple ones using the aviary set with sentiments from loving thoughts and itty bitty banners. The little birds are so cute and Love the cages they work well paired with the birds or even on their own.


Some orange ones . On this set I've done a couple more with the aviary set and one with the leaf from lovely as a tree which has had the background color corners rounded with a punch. I've also created the Ivy with a tattered lace die for the owl cage to hang off.


  Pink set this one includes a couple of butterflies from the papillon potpourri set. when I've stuck these on I've just glued where the body is to let the wings be free.


Green set using more papillon potpourri, lovely as a tree and apothecary art. I think the loving thoughts set works well with these mini cards as it has lots of unusual sentiments like Create, Imagine, Memories and Inspire these are nice because people sent cards for all sorts of different reasons and sometimes these sentiments just fit what they want.


Last some blue ones, the little flourish on the bird cage one is from Merry little Christmas set showing how versatile stampin up sets can be.


 All together they do look like a good set and at just £1 each in the shop they are perfect for those little notes to friends or putting with a gift.


Deep breath and ready to craft.

As well as being a crafter I'm also a florist and have my own shop which I also sell my crafts (and Mums) in. In early August my shop got flooded so I had to be closed while the building was dried out and cleaned. I decided to use this time wisely and get some crafting done. I started with making cards. I've made them in sets based on style or particular stamp set. I found this worked well of me as I felt productive achieving a good number of cards made and think they will look good on display in the shop. Because of this I've split them in to several blog posts.
So just so this first post has some pictures here's three cards I made using a tilda card background pad I'd picked up at hobbycraft. I added some patterned luggage tags and die cut bunting pendants from my stash and stamped on them in a complimenting blue.


More posts to follow soon about the other cards I've been making.

Partney Summer Fair

On the 9th of August we attended Partney summer fair. This was a very pleasant fair with quite a few stalls, some vintage farm machinery, games, refreshments and dog show.
It was abit windy so we ended up tying the gazebo to the car but with this and a wind break we managed to not fly away.


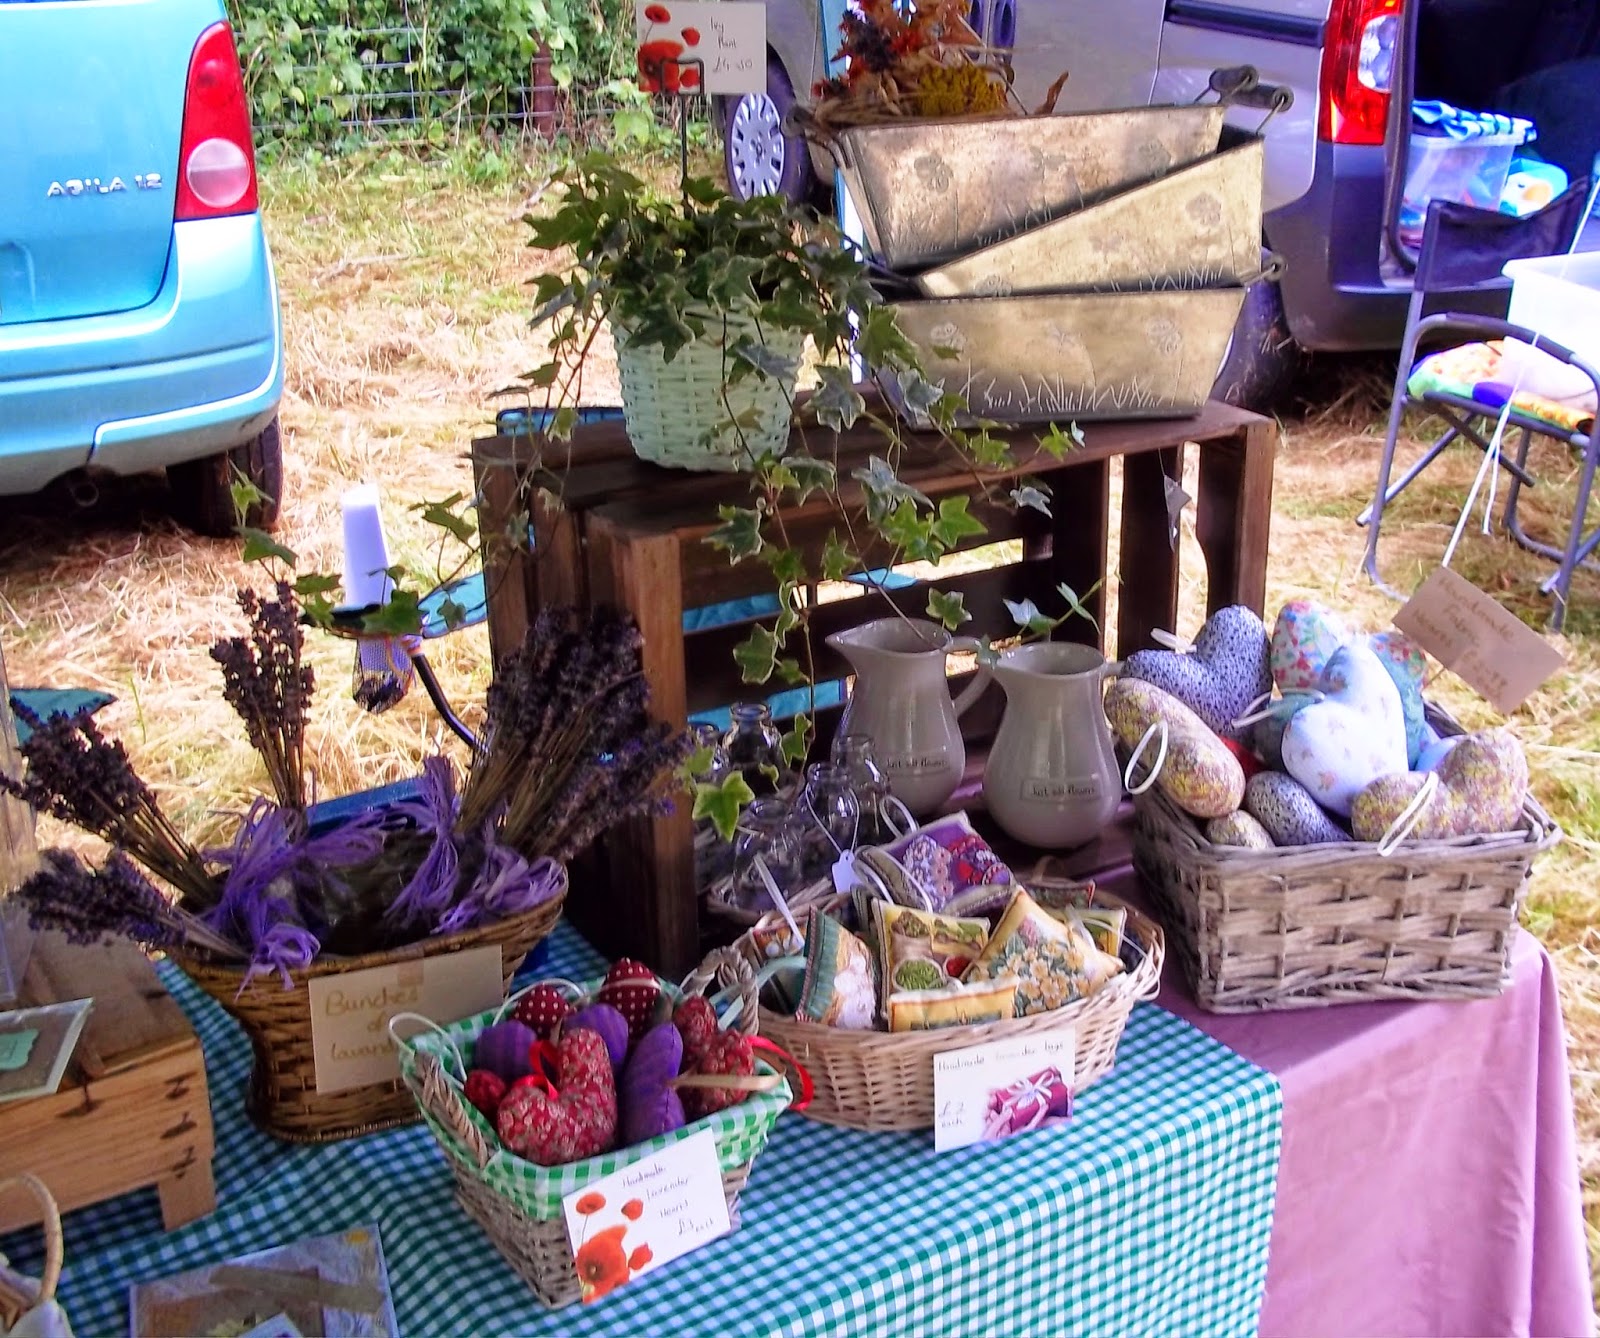
I kept my stall looking abit like I did at the Langton fair with the gingham cloths and rustic crates and dried articles, as I think this works well.
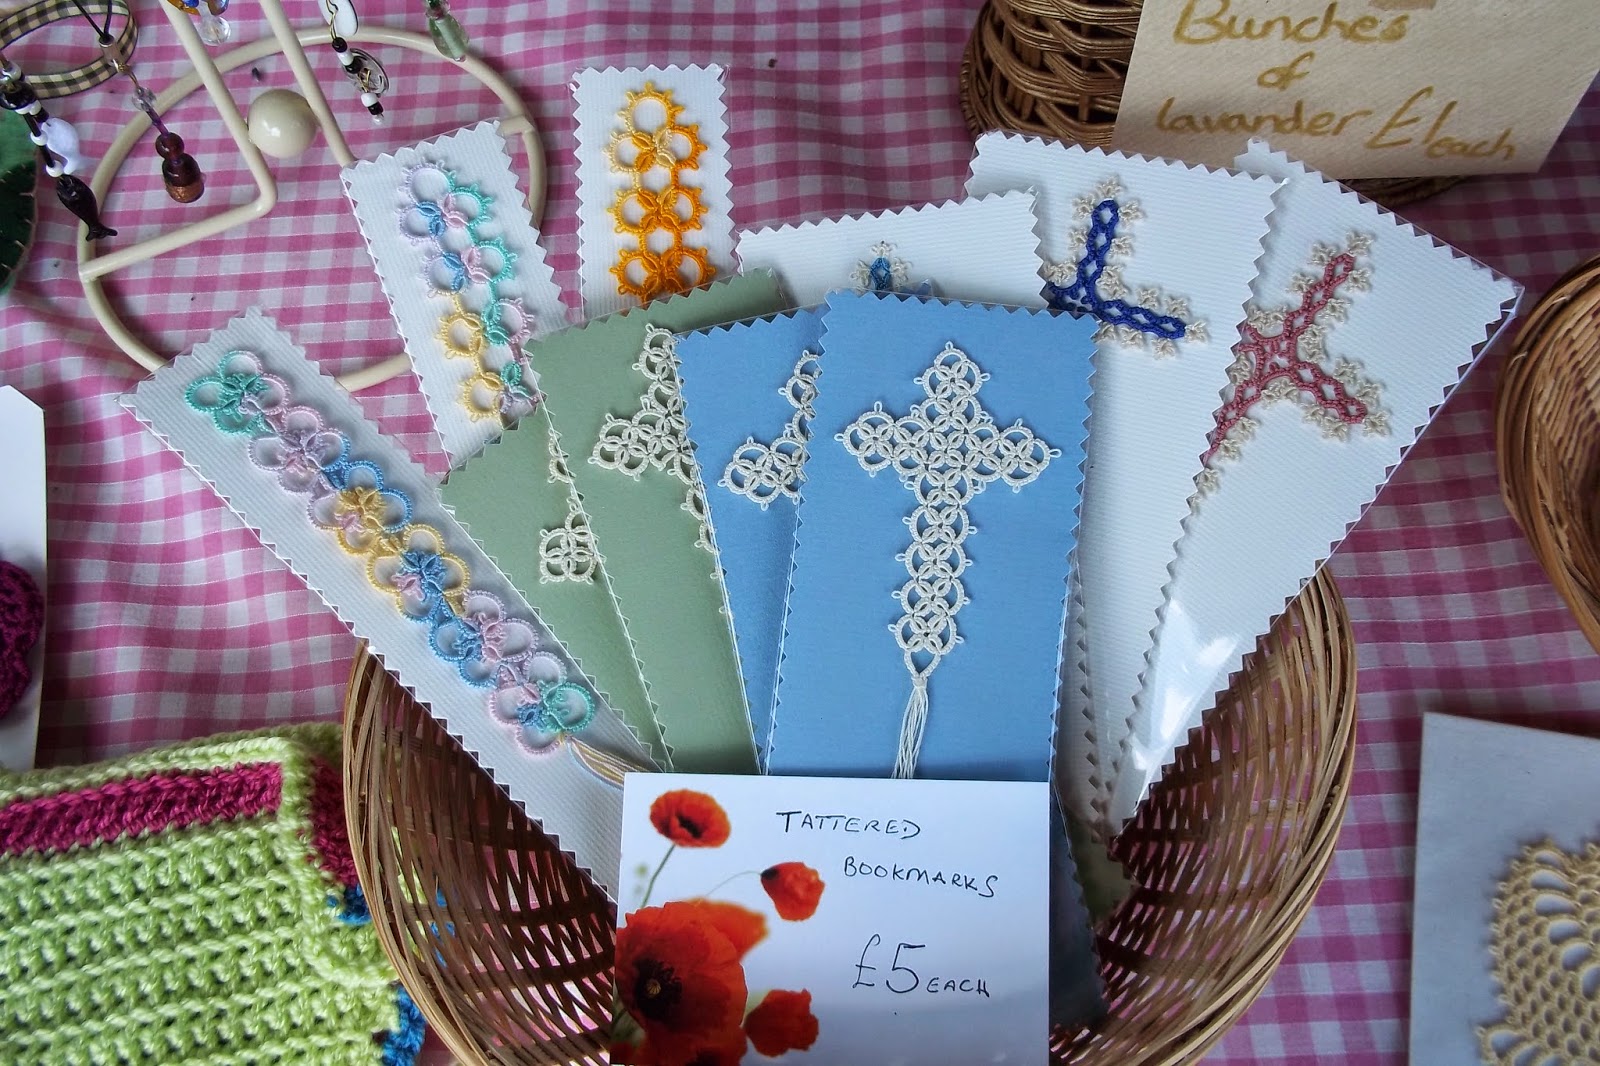
New additions to this stall as well as the crochet bunting (which will have its own post soon) were felt owl decorations and Mums tatted bookmarks 


 We hope to attend this fair again next year as the organizers are keen to expand on the craft fair side of it.

Thursday, 10 July 2014

Langton Summer fete


Had a stall at a local summer fete, I've done a couple of Christmas ones here but not tried a summer one, was looking forward to it as the Christmas ones had always been nice and the people who run them very friendly.
We set off in the morning car packed with gazebo, tables and plenty of lovely stock in the pouring rain.
Picked a spot on the field and started to set up, not long after getting the tables arranged realized the gazebo was not as waterproof as we may have liked. So everything back in the car and wait for it to stop. Luckily it did and we managed to set up the stall with a mixture of crafts and rustic items from the shop.


I was rather please with the layout I like how the wood crates gave height and interest while adding to the look. I'm hoping to add another table to the layout next time I do a gazebo stall. I think this will help bring people in as I can put it at right angles to the main table and stop everything seeming so far back.


At the fete there was also something I hadn't seem before, chicken racing, they have five chickens each with a colour and people bet on which one would win all the names of the people who bet on the winning chicken were then placed in a draw for the prize. It was rather fun and exciting even if my chosen chuck went backwards.


One of the new items on my stall this time was my crochet flower brooches which I displayed on luggage tags. Which I think worked well.

Looking forward to the next one I'm doing Partney Fair on Saturday the 9th of July.


Monday, 2 June 2014

Latest craftstyle samples.

Craft style products have expanded their cut and create range here are the samples I made with the new designs.
 I decided to be more creative with the shape of my cards for this set of samples.
So here is the first one for this I stuck together two square cards the cut away slanting portions of two sections to create the zigzag. I then layered them with backing paper in this red industrial look, (which I think is great for boys cards) and topped it with one of the new dinosaur designs and sentiment.


The next card was a card in a box which is becoming a popular style of card. I found instructions for this here a very clear and comprehensive tutorial. This card featured one of the new robot designs and I felt the style of card went well with it. I enjoyed making this style of card and look forward to doing more like it in future.
 The next card is a style I've been wanting to try for a while, a lever card. It has taken me quite a while to find clear instructions I have found some here they are no in English but the pictures are easy to follow. I used two square card blanks to make this and covered them in different backing papers and added an assembled topper and sentiment.   I have added a couple more photos of this card so you can see how it folds.


For change from just cards I created this cute door hanger. I stuck together two pieces of the backing paper, (which is quite thick so is sturdy enough) and then decorated is with monkey toppers and stamped my own cheeky sentiment. I think its all rather cute and shows that you don't just have to make cards with this products your and expand and do home decor bits too.


My last two cards are abit more normal this purple dinosaur is put on an easel card. With backing paper and sentiment creating a stopper.


And this one showing the other robot design is on a normal card blank, I will say that these designs do make quite large toppers, and are very bold and bright, excellent for children. The photograph doesn't show it very well but some of the white patches on this card are a complimenting embossed card with a zigzag pattern on.


So there you go samples done and sent back to craftstyle.
More crafting coming soon and not too but longer before the bumper blog about all the crafting I have been doing to help with my sisters wedding.

Tuesday, 6 May 2014

Say hello to spot

Sorry for not blogging for a while been busy with work, wedding stuff for my sister and changing computers.
                                                                                                                   
So still busy crocheting I picked up this brilliant set in Hobby Craft to crochet a giraffe.
The kit was brilliant can with full clear instructions, a crochet hook, large plastic needle and more than enough wool and stuffing.


 I got cracking on him, you make four individual legs first and sew them together you then crochet the rest of the body and neck on to them stuff as you go along.

The head is then made and stuffed and the ears and horns made separately and sewn on before the head is attached to the neck .


And here is the finished chap we called him spot.

Since making spot I've also created another giraffe in DK cotton in yellow, brown ,white and green stripes for my sister. I found the cotton makes him abit stiffer which helps with the standing up.

Hoping to create more of these in different colors to have on craft stalls at events.